Using X11 with WSL2
Recently I was building a project on a windows machine that required Cypress e2e testing. I use Windows Subsystem for Linux (WSL2) for most of my development work. I needed to be able to run X11 so that linux could run the browser on Windows OS. To accomplish this, I set up XLaunch, however there is a gotcha. The easist way to get that to work is to skip Authentication. This is never a great idea, even if this computer was not a laptop and never left the building. Thanks to sfmontyo, I was able to get the setup working with authentication.
Install XLaunch
Step one is installing Xming, this is a set of tools that allow you to have a X Windows Server running in Windows. Hop over to their official site and begin by downloading the installer. Once you download the installer, simply run it and follow the wizard. Once installed you are ready for the next step.
Configure X Authentication
Assuming that your WSL2 operating system is Ubuntu, the following steps will work for you, you may need to adapt them if you have another OS installed.
sudo apt install -y xauth coreutils gawk gnome-terminal
xauth list # this should be an empty list
magiccookie=$(echo '{some-pass-phrase}'|tr -d '\n\r'|md5sum|gawk '{print $1}')
xauth add host.docker.internal:0 . $magiccookie
cp ~/.Xauthority /mnt/c/Users/{WindowsUserName}
Be sure to replace your username in the last line, and you should also change the some-pass-phrase. Considering the level of security intended here, you really only need to recall this password for the moment of this installation. After you are done here, you won’t need it again, and if you find the password some how changes, or does not work, you can follow the same steps to recreate the authentication. With that in mind, I recommend some long random string.
With that done, you have now set up authentication, and are ready to set up the terminal.
Setup X11 for your shell
you need to export the shell, the best option for hostname is to use docker, as show here:
export DISPLAY=host.docker.internal:0
DISPLAY is what X11 uses as the place to send content. Since WSL runs under docker, that hostname is the same as the local Windows OS, and so this should work regardless of your IP changes and networking setup. To make this persistent, you will need to add this to your shell of choice. If using bash, you can add it to your `~/.bash.rc`, if you are using a different shell, add it as is normal for that shell.
Setup XLaunch
The last step is to run XLaunch on windows startup, using the authentication that was copied over in step 1. To being, open your startup folder. To do this, you can click windows, and then type run. The run dialog will show, and you can type shell:startup to open the folder in the explorer.

This window will open, where you need to create an alias to your VcXsv with Xauthority. You can drag and drop XLaunch from the applications folder into the window that is now open, and if you do so while holding the right click, you can have it create a shortcut.
Edit the Target, and add the command line arguments that you need to use X Authority, here is the single line that you need:
“C:\Program Files\VcXsrv\vcxsrv.exe” -multiwindow -clipboard -wgl -auth “C:\users\{youruser}\.Xauthority”

Try it out
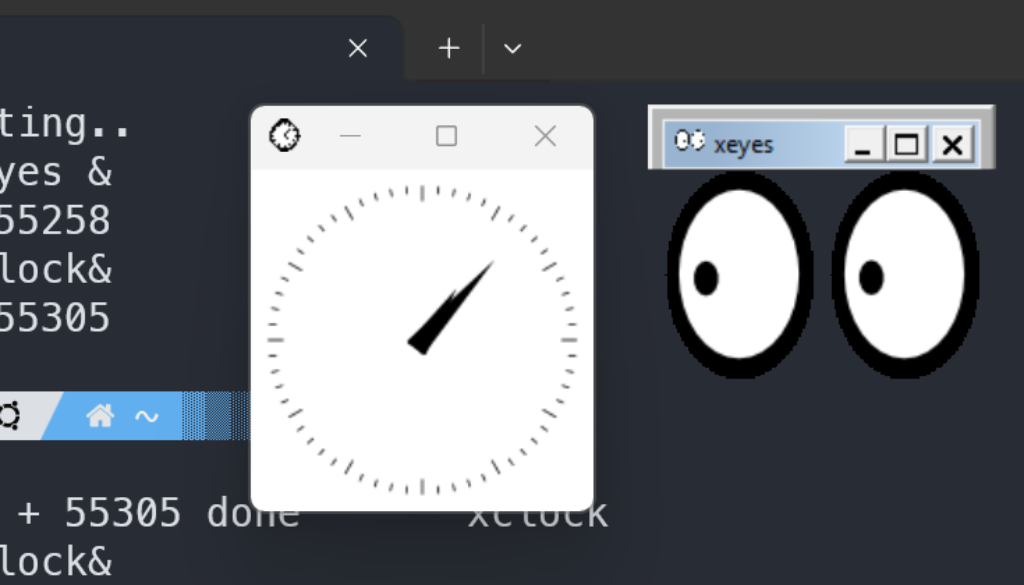
Next you will need to run an X application on the host, and you should see it running in windows. Some of the XApplications that are often installed are xclock and xeyes, these were widget type applications that have stood the test of time.

Assuming that is working for you, Congratulations! You have x11 set up with Authentication! Go you!
References:
- https://support.microsoft.com/en-us/windows/configure-startup-applications-in-windows-115a420a-0bff-4a6f-90e0-1934c844e473
- https://stackoverflow.com/questions/66768148/how-to-setup-vcxsrv-for-use-with-wsl2


