Setting Up A New Mac for Development
I hope this post will be helpful to any developer setting up a Macintosh. I plan to revise this post to keep it current.
Mac Compilers and required tools
Xcode
Install Xcode
Install Xcode using the Mac Store first and once it is complete, add the command line tools. Xcode and the command line tools are required for many other development tools to function. Even if you do not plan to do native development, this is a good first step.
xcode-select --install
Homebrew
Install Homebrew
Install Homebrew, a package manager that will be used to install almost everything else.
/bin/bash -c "$(curl -fsSL https://raw.githubusercontent.com/Homebrew/install/HEAD/install.sh)"
Git
Install Git
Git is one of the most popular version control systems. Git is installed on MacOS by default, however, it is probably out of date so you may want to update it.
With Homebrew, installing Git is as easy.
brew update
brew install git
You should configure it with your personal information. I also set up the default editor to be nano since many people are not used to using VIM, unless you like VIM! Here are the commands to set up the global configuration of git:
git config --global user.name "Your Name"
git config --global user.email "youremail@yourdomain.com"
git config --global core.editor nano
This will set up the name and email that is used by default whenever you commit code to a repository. It also sets up nano as the default editor. If you have VSCode, BBEdit (and command-line tools), sublime or text wrangler installed, you may want to use that as your default editor instead.
Since you type the git commands often, it is worth it to set up aliases so that it is faster to use. These are also set in the global configuration of git.
git config --global alias.co checkout
git config --global alias.br branch
git config --global alias.ci commit
git config --global alias.st status
If you are working with game files or art, you may want to enable large file support. There is a handy open-source tool, called git-LFS. It can be installed via Brew.
brew install git-lfs
Once installed it must be configured for it to work, follow the instructions shown by Brew to complete the installation. Once done you can tell it what file types you want it to support.
Docker
Many projects are now released to a containerized production environment, like Kubernetes or AWS ECS. Local development is often run via docker. This helps to keep the environment clean for each project and also helps in that each service can have its own database, cache, etc. A production-like environment that runs on your local machine, what could be better?
Languages
Languages generally have multiple tools that are commonly installed and used to build applications with those tools. Most developers will consider all of the parts required for their development. The parts include the language itself, a version manager, a package manager, and an IDE.
- The Language: The language itself is usually a set of programs that allow you to create and run programs in that language. For instance in Python, that would include the python application that you use to run python libraries, but it also includes all the libraries that are installed by default with Python. ‘Python 2.7’, would be Python and all the standard libraries associated with that version of the language.
- Version manager: A version manager allows you to have multiple versions of the language installed at the same time. This is important for most languages because you need to use the correct version of the language with code that was written for it. Using Python as an example, code for Python 2.7 is not compatible with Python 3.
- Package manager: A package manager allows you to install libraries or dependencies for that language for your projects and the language itself. This is how you extend the functionality of the basic language to include the features that you need to develop complex software.
- IDE or Editor: An IDE, is an integrated development environment, and that is a software package that developers use to build software. Software can be written with any text editor but IDEs are usually designed to help you build better code. They help with syntax highlighting, integrated debugging, and more. Many IDEs support multiple languages. IDEs can also be expensive, so if you do not have a favorite IDE, then you might want to install a free IDE to get started.
| Language | Version Manager | Package Manager | IDE |
|---|---|---|---|
| Java & Kotlin | jEnv | Maven | Eclipse, Android Studio |
| Node & JavaScript | NVM | NPM or Yarn | Visual Studio Code |
| Python | Virtualenv | pip | IDLE |
| Ruby | RVM or Rbenv | Gem | RadRails |
| Objective-C | N/A | CocoaPods | Xcode |
| Swift | N/A | CocoaPods | Xcode |
Ruby
RVM allows you to have multiple ruby environments on your machine and is another must-have for development on a mac. It is surprising how many projects use Ruby!
# Install Ruby
gpg --keyserver hkp://keys.gnupg.net --recv-keys 409B6B1796C275462A1703113804BB82D39DC0E3
\curl -sSL https://get.rvm.io | bash -s stable --ruby

# Add rbenv to bash so that it loads every time you open a terminal (optional)
rvm get stable --auto-dotfiles
Node & JavaScript
Node Version Manager (NVM) allows you to have multiple installations of Node on your machine. A requirement for developing with node. If you are doing front-end web development, this is a must-have. You may also use node for back-end development.
brew update
brew install nvm
source $(brew --prefix nvm)/nvm.sh
At the end of the brew install, there will be instructions to follow for adding nvm to your bash profile. It should be similar to this:
# nvm
export NVM_DIR=~/.nvm
. $(brew --prefix nvm)/nvm.sh
Now install the node versions you would like to use. List the versions that you can install with:
nvm ls
For instance to install version 8.5 use:
nvm install 8.5
You can also install the latest with:
npm install -g npm@latest
Python
Virtual ENV allows you to have multiple python environments installed. If you are going to do python development this is very important so that each project can have the libraries that it needs. PipEnv or Pip and VirtualEnv are both options.
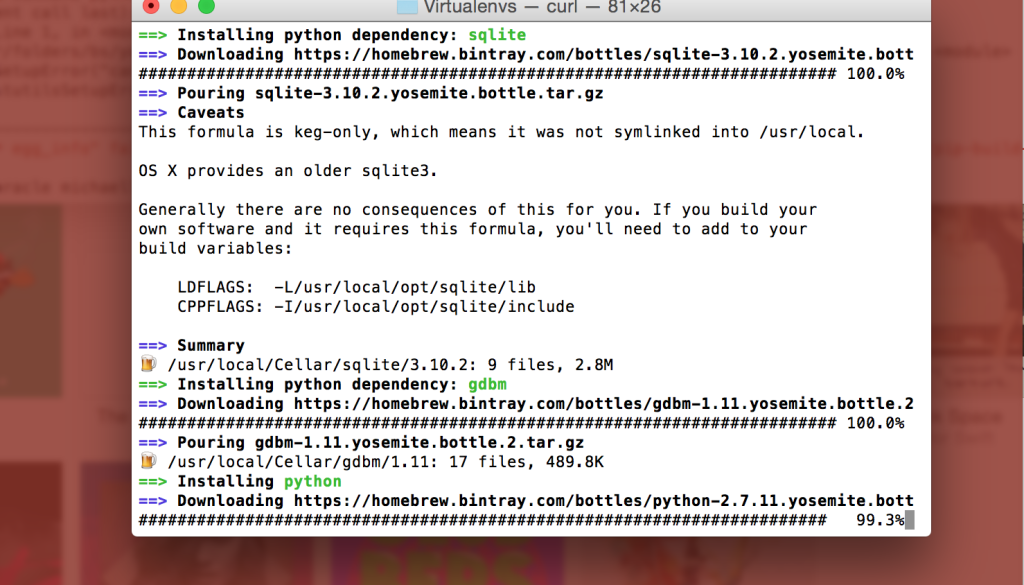
The version of python that comes installed on your mac does not have the development tools you need, including pip. To install it, simply install python. Install Python with the following command:
brew update
brew install python
Virtual Environments
venv is a tool to create isolated Python environments. Since Python 3.3, and is the best tool to begin virtual environments with and it comes with the default install. There are other tools, such as virtualenv that you can use that offer additional features. For more information on virtual environments, check this link.
The reason you want virtualenvs is to help with development and allow you to have multiple versions or configurations of python. For instance if you have a tool that requires python 2.7, you can make a venv for that, and then if you have a project that uses python scripts, you might create a /.env folder in that project root and install a virtual environment there.
venv
venv is very easy to use, to install a new virtual enviornment, you can simply run this command:
# create global location
mkdir ~/virtualenvs

# install virtual env
python3 -m venv ~/virualenvs/global

# then activate with
. ~/.virtualenvs/global
After this is complete you will have a global virtual env.
Java
You can install Java with Brew, this is the OpenJDK version of the JDK.
brew update
brew install openjdk
If you will not continue with jEnv, you may want to set you JAVA_HOME variable.
export JAVA_HOME="$(brew --prefix openjdk)/libexec/openjdk.jdk/Contents/Home"
Java is most likely already installed on your mac, but if you plan to develop in Java with your mac, I recommend setting up jEnv to allow you to have multiple versions of Java installed, and switch between them easily.
echo 'set PATH $HOME/.jenv/bin $PATH' >> ~/.config/fish/config.fish
echo 'status --is-interactive; and source (jenv init -|psub)' >> ~/.config/fish/config.fish
cp ~/.jenv/fish/jenv.fish ~/.config/fish/functions/jenv.fish
cp ~/.jenv/fish/export.fish ~/.config/fish/functions/export.fish
Let’s say you have an older version of Java installed that you need to be able to use for a project and that it is installed in `/System/Library/Java/JavaVirtualMachines/1.6.0.jdk/Contents/Home` Now that you have jenv installed you can add that version using the `add` command and then switch to using it with the `global` command as shown below.
jenv add /System/Library/Java/JavaVirtualMachines/1.6.0.jdk/Contents/Home
jenv global oracle64-1.6.0.39
If you are going to be using Java, you’re probably also going to be using Maven. Also, you may want to colorize your maven output.
brew install maven
Configuration
Shell Setup
You have choices when it comes to your shell, some people still love BASH, but others have moved on to ZSH. Today, if you don’t have an opinion to start with, go with ZSH + OhMyZsh.
I also usually have a folder where I can include common scripts. To do so, you need to include a folder in your path. I add a bin directory to my home directory and then modify my .bash_profile to include it, this is fairly common practice.
mkdir ~/bin

# always add your own paths to the end, so that if there
# is a conflict (two programs with the same name, you use the
# system default first.)
export PATH=$PATH:~/bin;
Setup BASH
The version of Bash that ships with macs is old, and will cause headaches, so I usually replace it.
brew install bash
brew install bash-completion
To have bash-completion work, you need to update your .bash_profile as follows
# BASH
# bash autocomplete
if [ -f `brew --prefix`/etc/bash_completion ]; then
    . `brew --prefix`/etc/bash_completion
fi
You may also want to set a default EDITOR to either Nano, vim, emacs; or any of the command line executable editors like sublime, BBEdit, or TextEdit. Do so so modify your.bash_profile to include this:
# Default Editor (change 'Nano' to the editor of your
# choice - vim, emacs, subl, bbedit)
export EDITOR=/usr/bin/nano
If you do not have one, now is the time to create the .bashrc and then link it to your .bash_pofile so that when you log in, it will also be run. Remember, commands and alias’ generally go into .bash_profile and configuration changes to bash go in the .bashrc file.
touch ~/.bashrc
Even more interesting things to add to your .bash_profile.
Setup Zsh
Check out another article for setting up ZSH.
Profile Configuration
Finally here are some popular aliases and config settings. To use this add them to your .bash_profile. X11 enables X11 to function on your computer if you use any X11 apps, and colors are useful for everyone.
# x11
export DISPLAY=0:0.0

# colors
CLICOLOR=1
LSCOLORS=ExFxCxDxBxegedabagacad
export CLICOLOR LSCOLORS
Tools
QuickLook
QuickLook is a great time saver (just hit space on any file in the finder to see the QL view of the file.) Here is a set of useful QuickLook plugins. (More QL plugins)
brew cask install qlcolorcode qlstephen qlmarkdown quicklook-json qlprettypatch quicklook-csv betterzipql qlimagesize webpquicklook suspicious-package
You can also add QuickLook as a command using the following in your .bash_profile:
# qlf:           Opens any file in MacOS Quicklook Preview
alias qlf='qlmanage -p "$@" >& /dev/null'
For the curious, my dotfiles are on GitHub.


