Customizing OhMyZSH! prompt
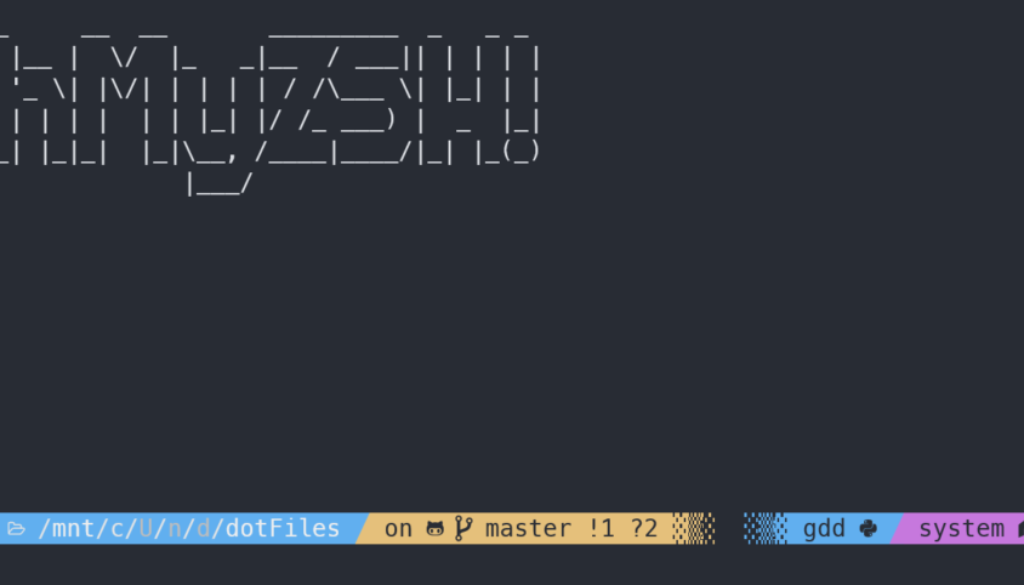
For quite some time now there has been a bit of pressure on terminal users and developers to move away from bash to zsh or (Z Shell). Recently it seems to have gone to the next level with Mac OSX defaulting to zsh shell. Of course, you can continue to use bash but clearly, zsh is winning ground so I decided to try it out. One of the most powerful reasons to change is the very cool-looking prompts, I kid you not they are actually a great time saver and very helpful when using the terminal as a developer. Here is how to customize your zsh prompt for Linux, OSX, and Ubuntu with WSL2.
ZSH Installation
Zsh is probably already installed, and you can test that by typing zsh at the command line prompt, you should see zsh startup. If not, zsh is easy to install.
On OSX:
brew install zsh
Linux:
sudo apt install zsh
Next, you can install OhMyZSH! by following the instructions on their website. At the time of this writing, they recommend:
$ sh -c "$(curl -fsSL https://raw.github.com/ohmyzsh/ohmyzsh/master/tools/install.sh)"
Now that you have all of that installed you should make zsh your default shell. This is part of the ohMyZSH! installation step.
Prompt Customization
Now that you have completed that, you already have a pretty nice-looking shell. But you might want to do even more. In order to have fancy characters (glyphs) in your prompt, you will need to install a font that includes them. This is the first step in configuring the prompt. Next, you can choose a theme that uses the special characters and then customize your prompt to suit yourself.

First, you need to select the font that you would like to use, this is OS independent, and a great source for the fonts is Nerd Fonts. Nerd fonts offer what is known as ‘complete’ fonts. These are fonts that include the special glyphs that are needed for powerline and to display the symbols that programmers find useful.
You can download and test the fonts, or you can use programmingfonts.org to preview most of the fonts available on Nerd Fonts and then select the font you like the most. I was previously using Hack and experimented with quite a few more, before going back to Hack. But everyone has their own taste in fonts. All of the fonts have complete versions, and all of them offer distinct versions of commonly difficult to distinguish characters, such as 0O and 1l|.
Once you have selected the font, download, unzip it and install the fonts. Each zip from Nerd Fonts includes multiple versions of the font, including the ‘complete’ version that you will need to install. Later when you choose your font for the terminal, or your IDE of choice, you will have to choose the complete version in order to have the special glyphs and best experience.
Next, you can choose a theme to install, I decided to go with PowerLevel10k. To install it with OhMyZSH! you can use this command:
git clone --depth=1 https://github.com/romkatv/powerlevel10k.git ${ZSH_CUSTOM:-$HOME/.oh-my-zsh/custom}/themes/powerlevel10k
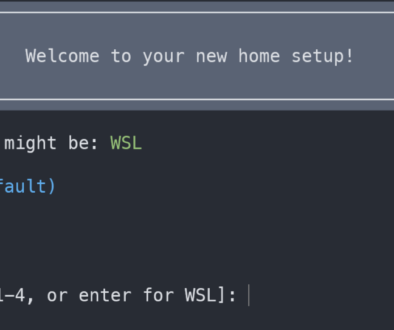
The final step is to customize the theme by editing your ~/.zshrc file and setting the theme to powerlevel10k. Once this is complete, open a new terminal window and you will be prompted to configure your prompt.
p10k configure
OSX
To use the font on OSX in the terminal, you need to configure your terminal to use it. I use the default installed terminal, but many people prefer iTerm2. For either terminal, you will need to open the preferences and choose the font you choose before, and then you are done with fonts.


Windows
For windows, you have multiple choices for your terminal as well, but I have installed WSL2, so I’m using the default terminal for WSL2. To customize the font there you need to click the settings from the terminal this will bring up the settings file (terminal-profiles-schema) in your IDE.

In this file, you can add the font face, and you can set the font size as well.
// To view the default settings, hold "alt" while clicking on the "Settings" button.
// For documentation on these settings, see: https://aka.ms/terminal-documentation

{
  "$schema": "https://aka.ms/terminal-profiles-schema",

  "defaultProfile": "{c40}",

  "profiles": {
    "defaults": {
      // Put settings here that you want to apply to all profiles
      "fontFace":  "MesloLGS NF"
    },
    "list": [
      {
        "guid": "{c40}",
        "hidden": false,
        "name": "Ubuntu-18.04",
        "source": "Windows.Terminal.Wsl",
        "fontSize": 14,
        "colorScheme": "One Half Dark" // Solarized Dark"
      }
    ]
  },

  // Add custom color schemes to this array
  "schemes": [],

  // Add any keybinding overrides to this array.
  // To unbind a default keybinding, set the command to "unbound"
  "keybindings": []
}
Here I am using MesloLGS Nerd Font and I set the size to 14 for Ubuntu18. Save the file and then open the terminal again to see the new zsh prompt.


