Simple Image Generation Script
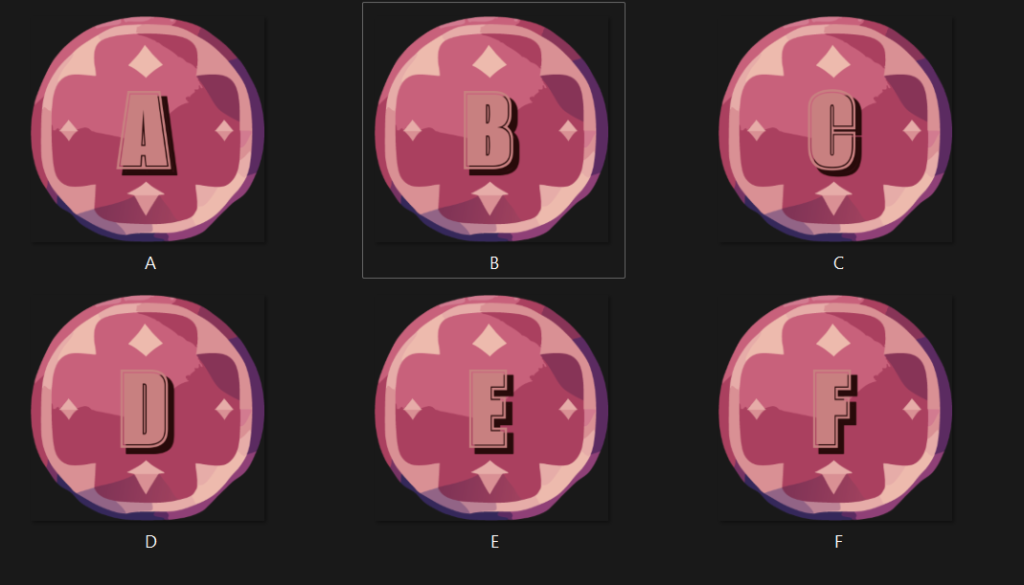
When developing games, you often need to create tools that go with the games to speed development. This can be complicated tools such as level editors or simple tools such as image generation scripts. I was recently working on a project where I needed many game tiles for each letter of the alphabet, and although this is pretty simple to do using a professional tool such as PhotoShop, I decided to write a script to do it.
Python Script
The script is written in Python and can be found in GitHub, here.
This is a simple tool that opens a base image and then using the script writes a single letter centered on the image. This was quick to build and can be modified if the project calls for it. For example, maybe the font needed to change, or we needed new colors or new tiles. Any of these options could be done and regenerated in seconds.
The script uses the Pillow Library, a very powerful image manipulation library that can do all sorts of interesting things with images. In this case it’s simply being used to draw the text on the images.
def draw_text_on_image(image, text, output):
    draw = ImageDraw.Draw(image)

    font = ImageFont.truetype("font/AlumniSansCollegiateOne-Regular.ttf", 225)
    text_color = (200, 128, 128)
    text_color_back = (40, 10, 10)
    width, height = image.size

    box = draw.textbbox((1,1), text=text, stroke_width=1, font=font)

    text_width = box[2] - box[0]
    text_height = box[3] - box[1]

    # text_width, text_height = draw.textsize(text, font)
    x = (width - text_width) / 2
    y = (height - text_height) / 2

    draw.text((x+5, y), text, stroke_width=1, fill=text_color_back, font=font)
    draw.text((x-5, y-10), text, stroke_width=0, fill=text_color, font=font)

    image.save(output)
The script first sets the settings for the text that will be written, this is the font, and the text color, and then sets the second text color to black (in this case we are doing the letter with an offset backing letter to make the letter stand out a bit more.
Then we calculate the center of the image and move it back half of the height and width so that the text will be centered on the image.
We then drew the letter twice, once in black, and once in the chosen color. As you can see it’s a simple 10-pixel offset, but to keep it centered, we move the top text left, and the back text right.
Final Image output:


